A Beginner’s Guide to Vinyl Printing
Vinyl printing has become increasingly popular in recent years, especially for those interested in custom designs and unique products. Whether you’re thinking of starting a small business or just want to create personalized items, vinyl printing offers a versatile and accessible way to bring your ideas to life. In this guide, we’ll break down the basics of vinyl printing, including what it is, how it works, and what you need to get started.
What is Vinyl Printing?
Vinyl printing involves cutting designs from vinyl sheets and then transferring them onto various surfaces. It’s commonly used for creating custom t-shirts, mugs, signs, and decals. The vinyl used in this process is a durable material that comes in various colors, finishes, and types, such as adhesive vinyl for stickers or heat transfer vinyl (HTV) for fabrics.
How Does Vinyl Printing Work?
The process of vinyl printing typically involves a few key steps:
- Design Creation: Start by creating your design using graphic design software like Adobe Illustrator, CorelDRAW, or even simpler programs like Canva. Make sure your design is compatible with vinyl cutting, which means avoiding overly intricate details that might be hard to cut and weed.
- Cutting the Vinyl: Once your design is ready, you’ll need a vinyl cutter, a machine that precisely cuts your design from the vinyl sheet. Popular models include Cricut, Silhouette, and Brother ScanNCut. The vinyl cutter is connected to your computer and guided by your design file.
- Weeding: After cutting, you’ll need to weed the vinyl, which means removing the excess vinyl that isn’t part of your design. This can be done using tools like tweezers or weeding picks. Careful weeding is crucial for a clean final product.
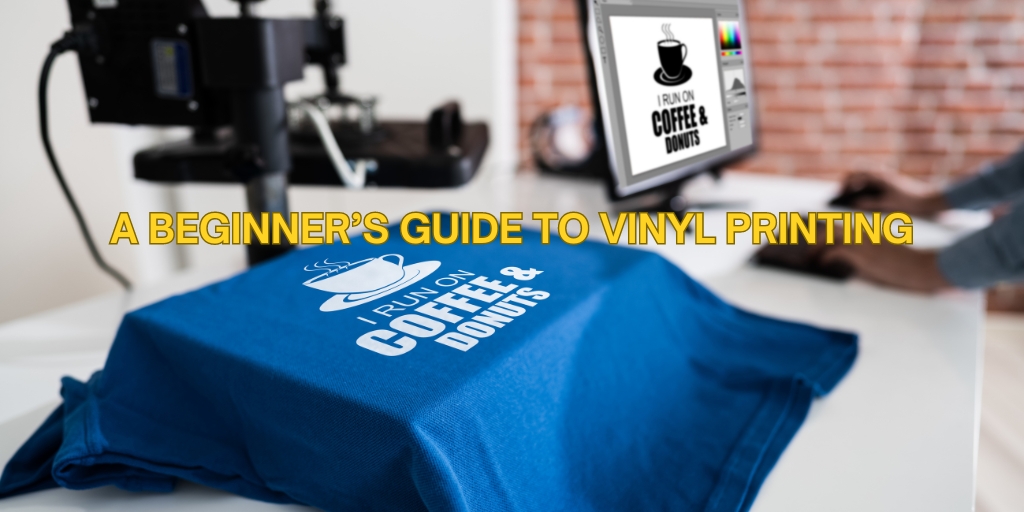
- Transfer: For adhesive vinyl, the next step is to apply a transfer tape over the design, which helps move it from the backing paper to your chosen surface. For heat transfer vinyl (HTV), you’ll place the vinyl on your fabric and use a heat press or iron to transfer the design.
- Application: Finally, apply the vinyl to the surface. For adhesive vinyl, this involves smoothing the design onto the surface and then removing the transfer tape. For HTV, you’ll apply heat and pressure to adhere the design to the fabric permanently.
What You Need to Get Started
To start vinyl printing, you’ll need a few basic supplies:
- Vinyl Cutter: As mentioned, this is essential for cutting your designs from vinyl sheets.
- Vinyl Sheets: Depending on your project, choose between adhesive vinyl or heat transfer vinyl.
- Weeding Tools: These help remove excess vinyl from your design.
- Transfer Tape: For adhesive vinyl, this tape is necessary to transfer your design to its final surface.
- Heat Press or Iron: If you’re working with HTV, a heat press provides even heat distribution, but a household iron can also work for small projects.
Why Choose Vinyl Printing?
Vinyl printing is a great choice for several reasons:
- Customization: It allows for highly personalized designs, making it ideal for small businesses, custom gifts, or personal projects.
- Durability: Vinyl is a strong material that can withstand wear and tear, especially when properly applied.
- Versatility: You can apply vinyl to a wide range of surfaces, including fabric, glass, wood, and metal.
Conclusion
Vinyl printing is a creative and fun way to make personalized items, whether for business or pleasure. With the right tools and a bit of practice, you can create professional-looking products that stand out. Whether you’re decorating a t-shirt, personalizing a mug, or making custom decals, vinyl printing offers endless possibilities for creativity.

